In an earlier post, we saw how to Create SAP HANA Virtual Machine on VMware ESXi now will see the installation of the Operating System – SUSE Linux Enterprise Server for SAP Application.
Before working on this exercise, one has to do thorough research on the subject.
Following are some important references that are required to cover and should be compliant with it.
- SAP Note: 2235581 – SAP HANA: Supported Operating Systems
- SAP Note: 2578899 – SUSE Linux Enterprise Server 15: Installation Note
- SAP Note: 1944799 – SAP HANA Guidelines for SLES Operating System Installation (under attachments – Configuration Guides are provided)
Now, let’s begin with the OS installation.
Click on the ‘Power on’ option to boot the virtual machine.
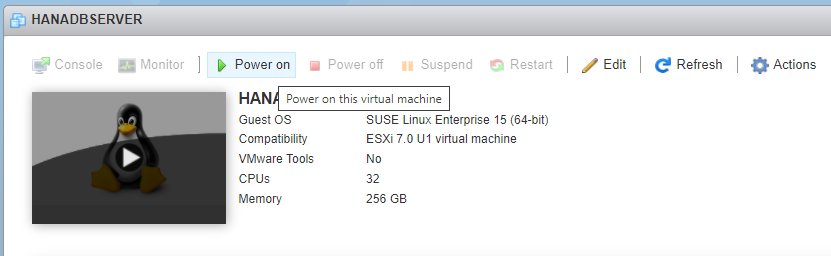
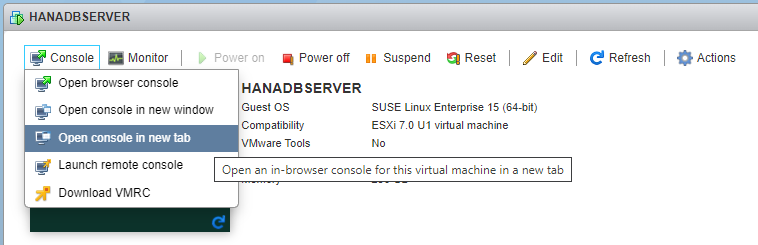
After you click on ‘Power on’ wait for a moment for the ‘Console’ option to get activated. Once it is activated, click on it and choose any of the options to launch Virtual Machine. Here, I want to open a VM in a new tab as shown below.
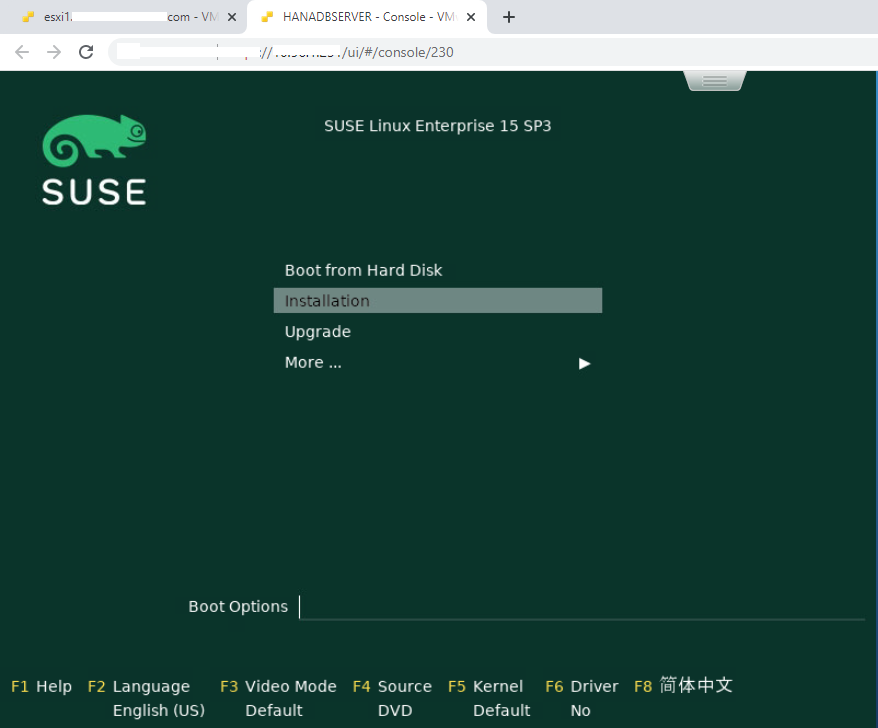
First, click inside the VM console select the Installation option, and then press enter to proceed.
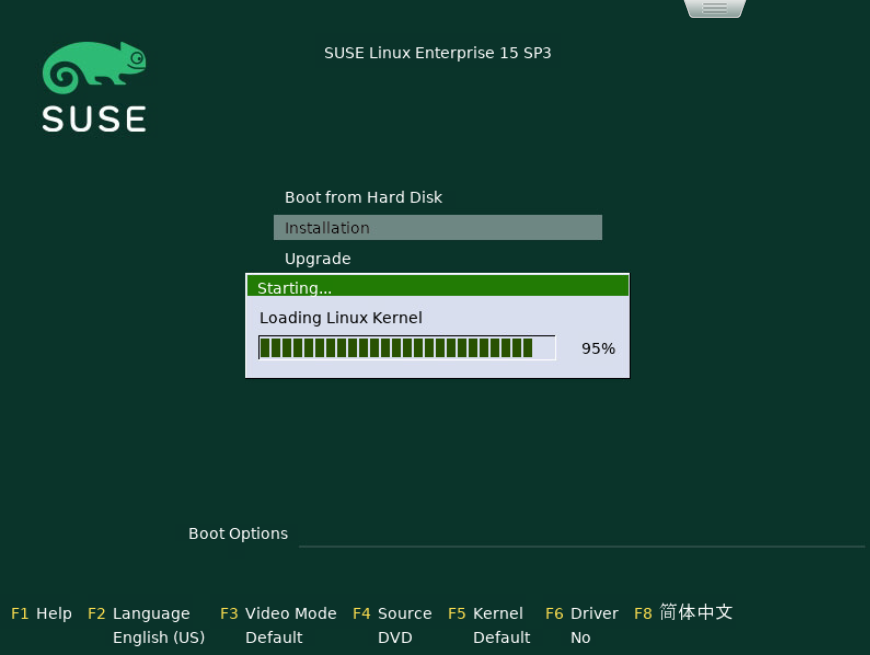
As soon you press enter on the Installation, it will start loading Linux Kernel.
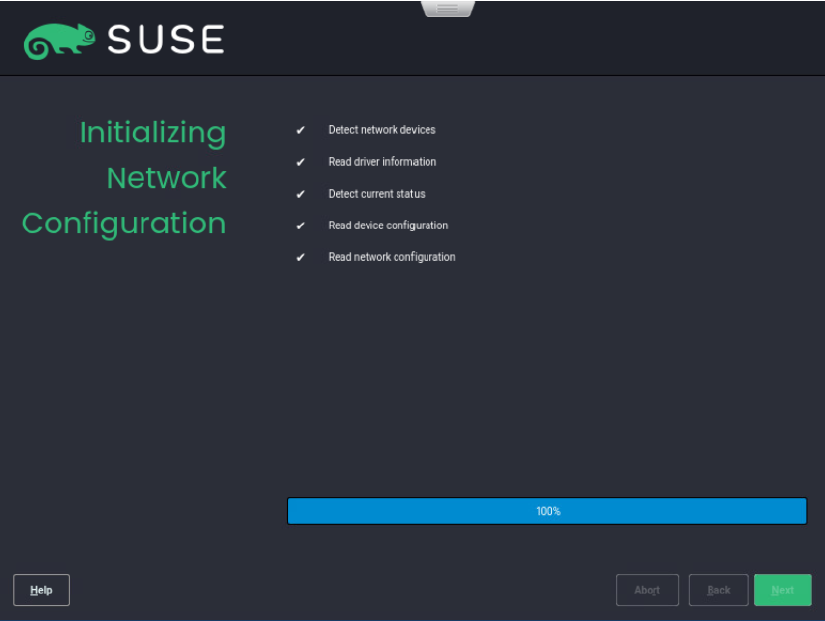
Further, the system initializes network configuration and it will proceed to next by itself.
Choose the type of Product to Install. In my case, I chose the ‘SUSE Linux Enterprise Server for SAP Applications 15 SP3’ as highlighted below:

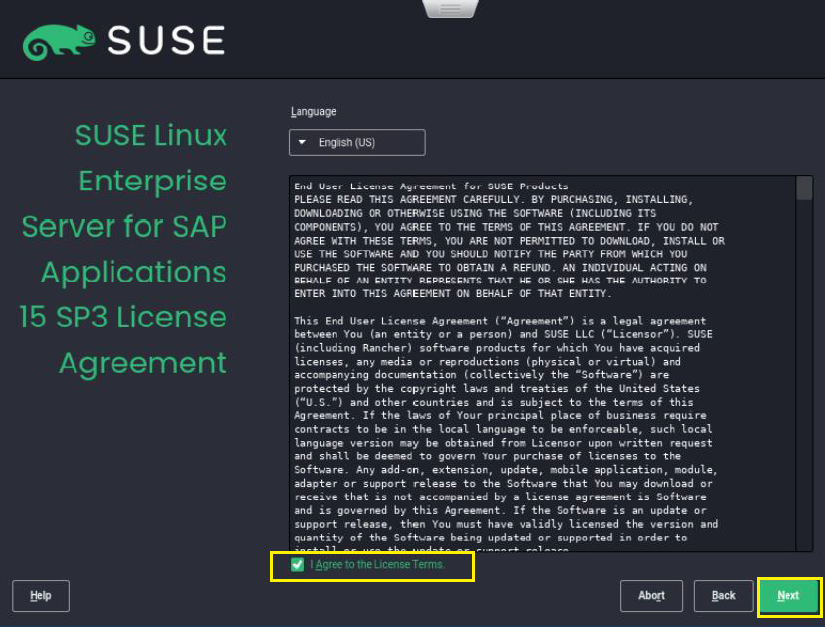
Choose the Language, go through with the End User License Agreement, tick the ‘I Agree to the License Terms.’, and then click on ‘Next’.
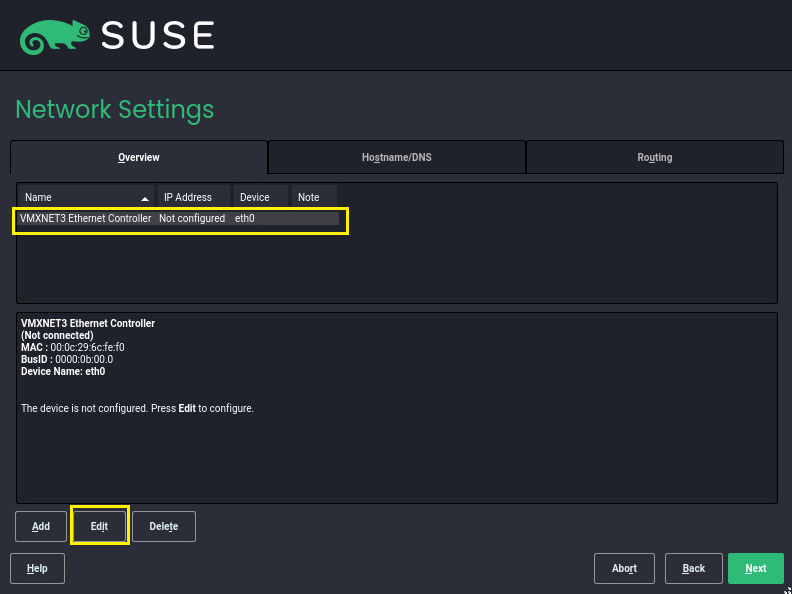
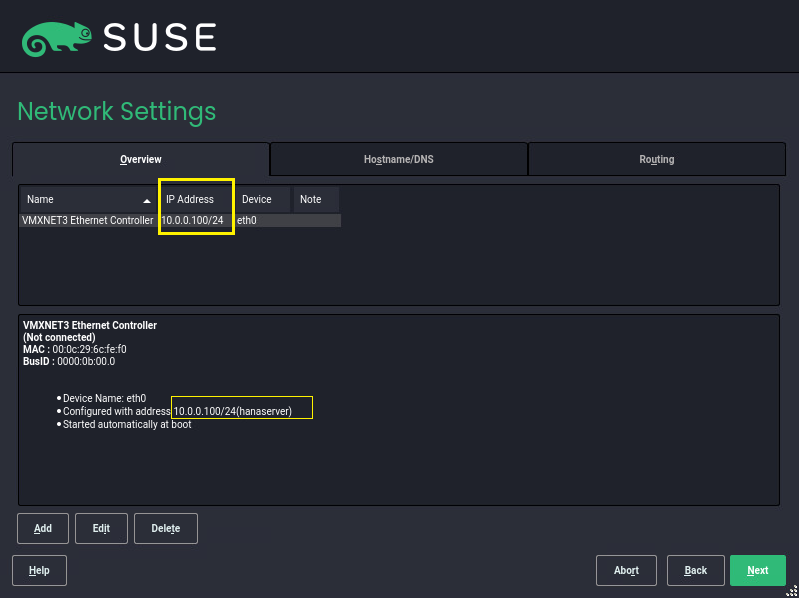
At this stage, configure network settings. Click on the Network Card and then click on Edit.
(Note: If you don’t have network configuration details then you can set it after OS installation.)
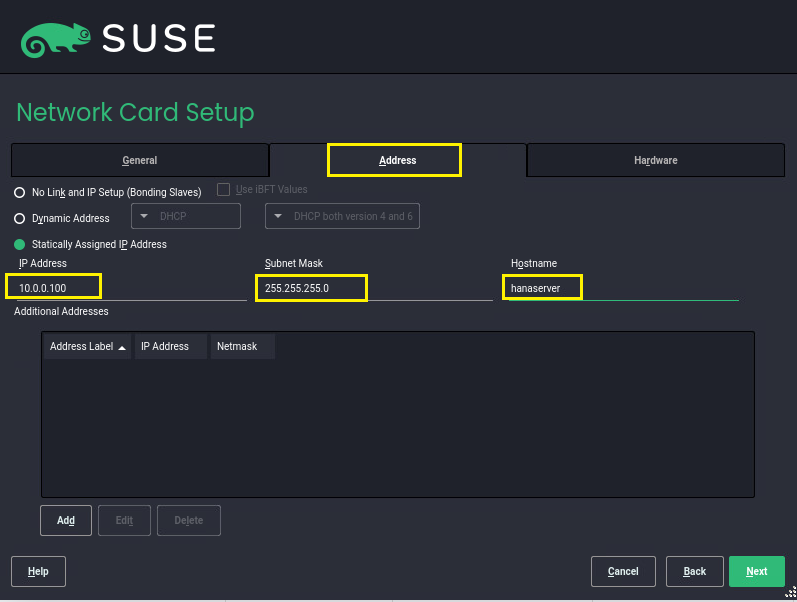
For my demo setup, I chose the ‘Statically Assigned IP Address’ option to Provide IP Address, Subnet Mask, and Hostname. Click on Next to proceed.
Provided details are saved.
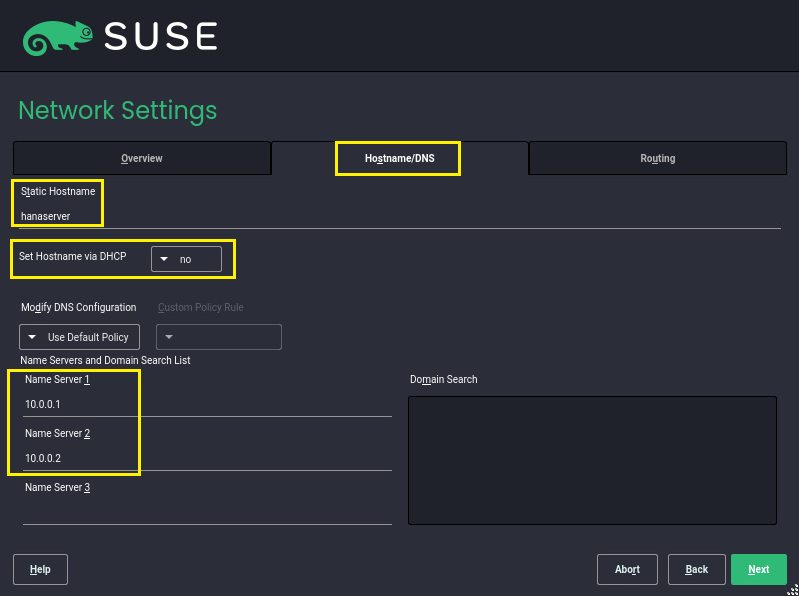
Switch to the ‘Hostname/DNS’ tab and provide Static Hostname, set ‘Hostname via DHCP’ to no, and Name Server(s) details. Click Next to proceed.
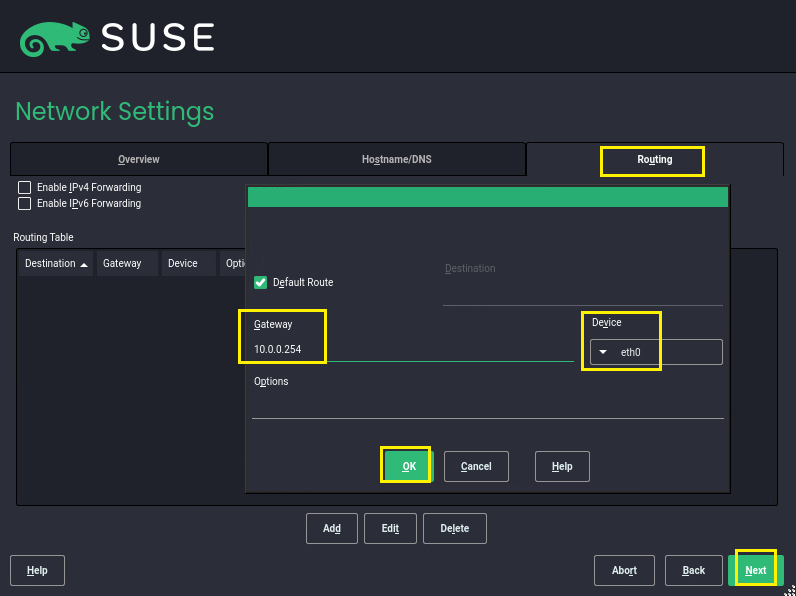
Under ‘Routing’, click on ‘Add’ and provide the routing details like Gateway, Device and click on ‘OK’ then click on next to proceed.
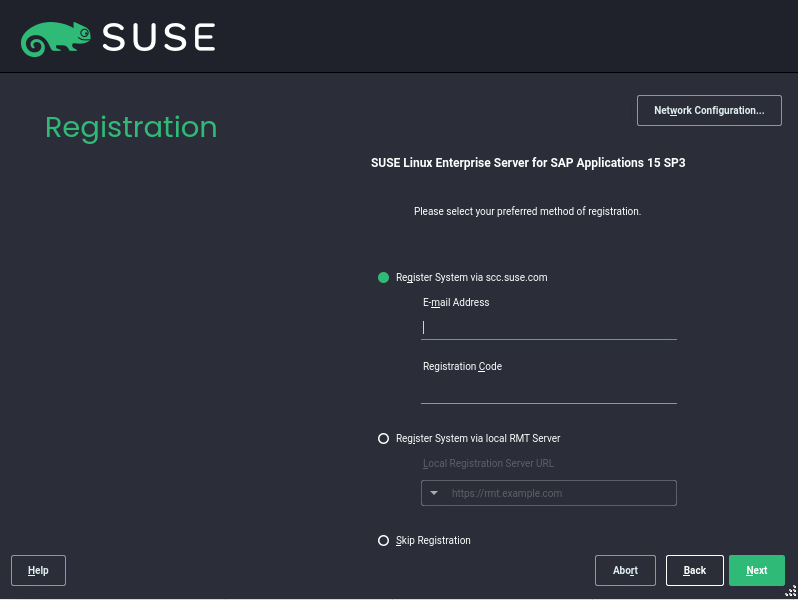
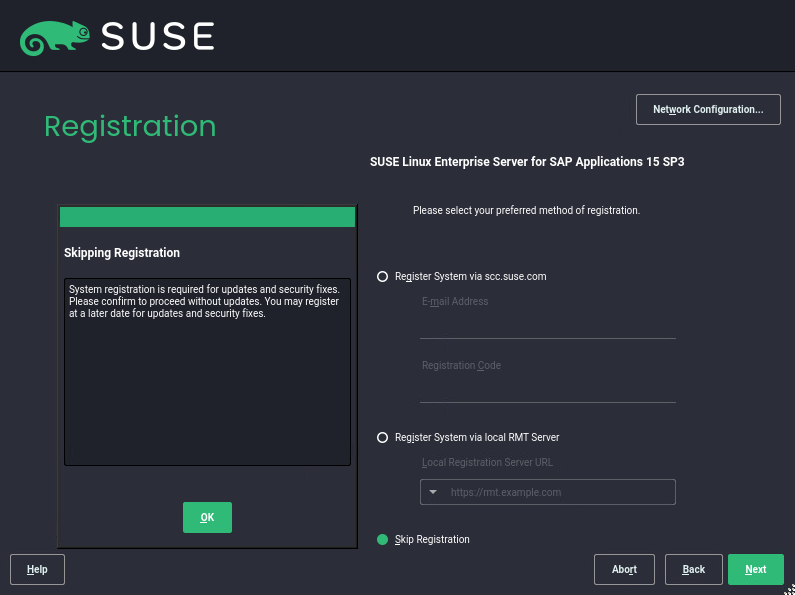
If you have already purchased the OS then enter the same Registered Email Address and Registration Code that you had received from SUSE or its Partner, otherwise, you can Skip Registration at the moment and register it later after the OS installation. Click on Next to proceed.
The following Modules are pre-selected:
- Basesystem Module,
- Desktop Applications Module,
- SAP Applications Module,
- SLES HA Extension 15SP3 and
- Server Applications Module
For my demo system, I also enabled ‘Legacy Module’, and then click on next.
This selection of Available Extensions and Modules depends upon your System Requirements. It can vary from System to System.
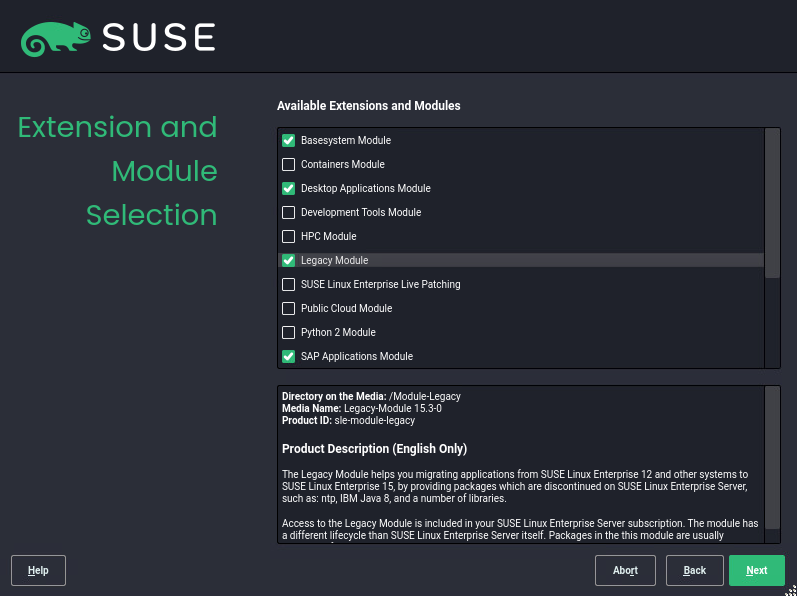
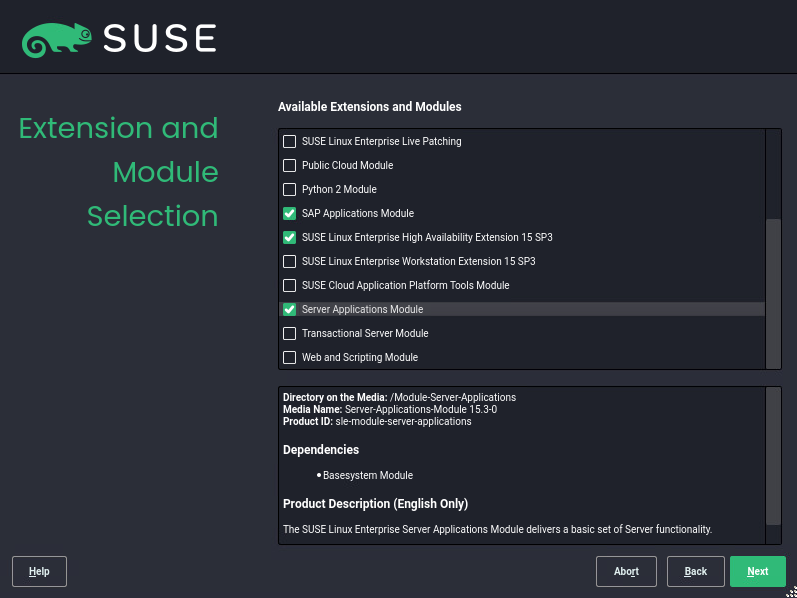
Once you are done with the selection, click on next, and you will find the list of products to install along with the OS.
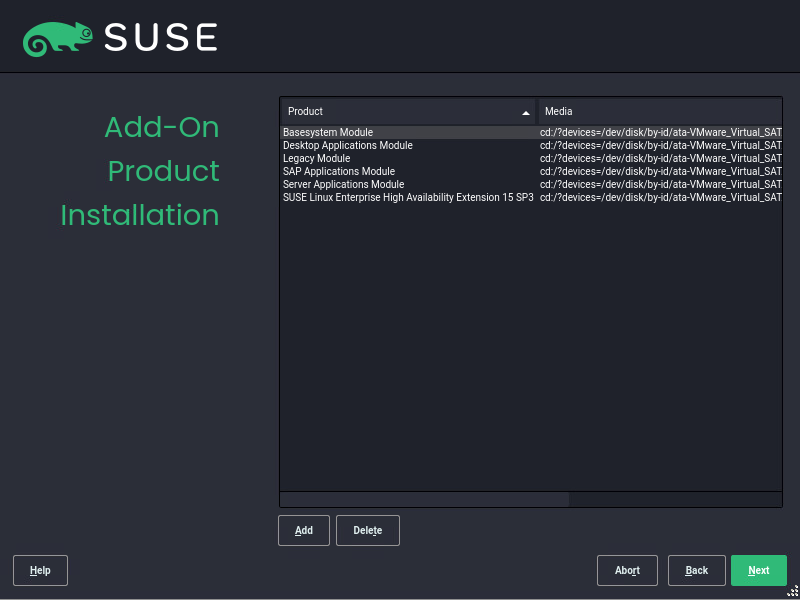
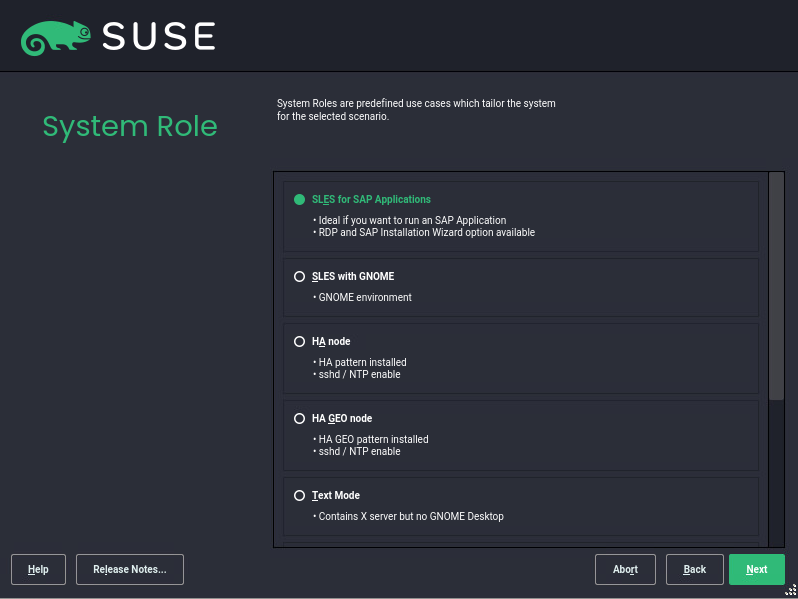
Choose SLES for SAP Application and click on next.
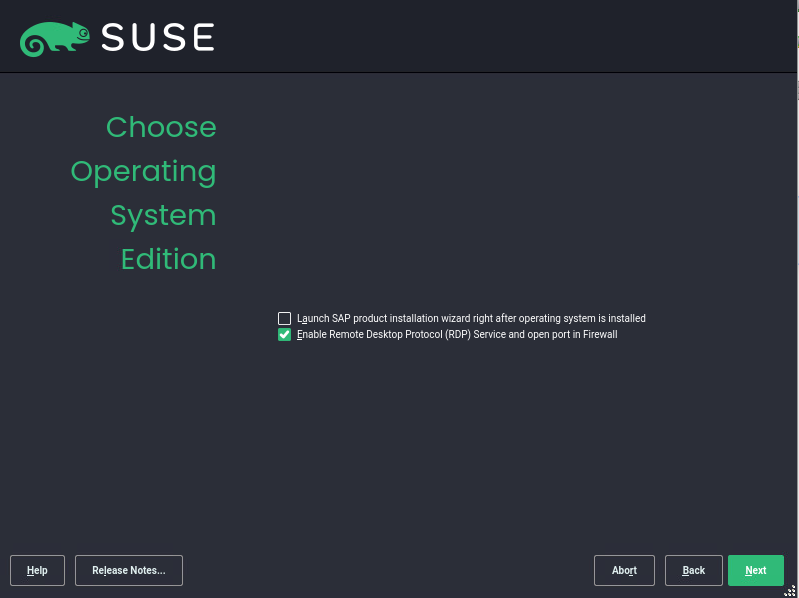
Enable RDP service for the Server if you want. Click next.
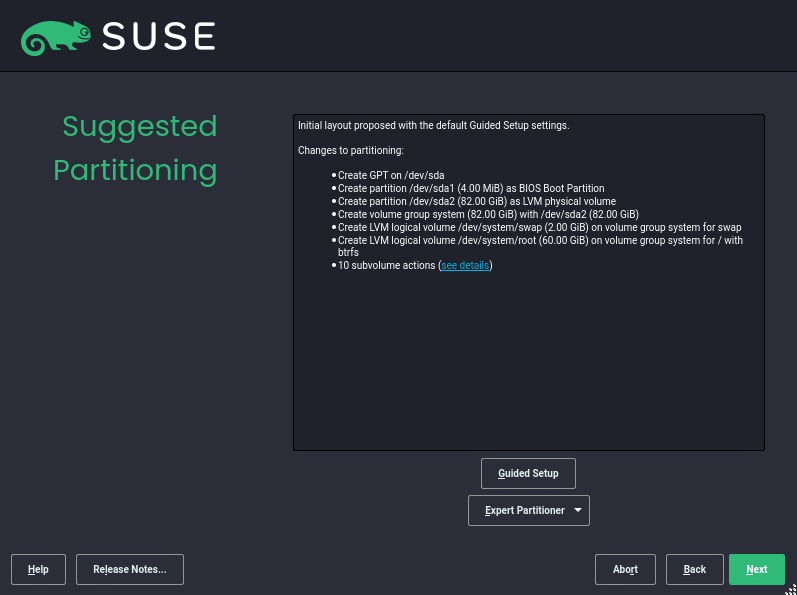
The below screen shows the Partitioning of the hard disk, if one has a requirement to make a custom setup can click on ‘Expert Partitioner’. Here I chose, the default setup in which OS is getting installed on your hard disk-1 and the rest of your hard disks can be partitioned afterwords.
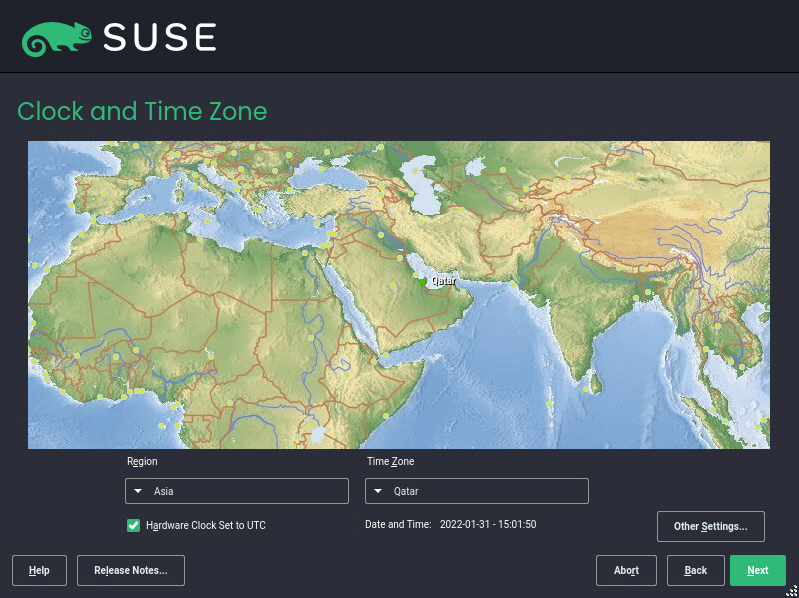
Choose your Region and Time Zone and click on next.
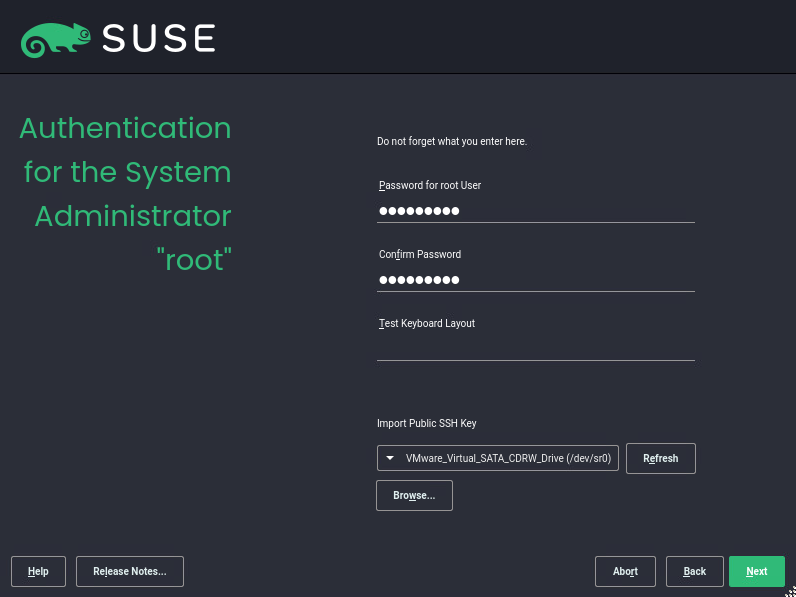
Set up a strong password for your Server. If the password is weak or a common dictionary word then the system will throw an alert regarding its confirmation. Here, I chose a strong password. Click on next to proceed.
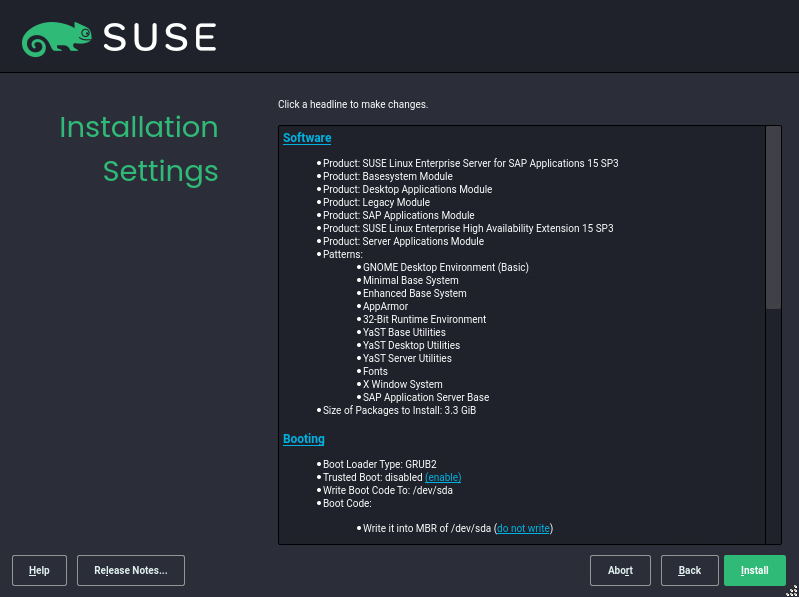
Click on the Software link it will provide you with a list of software to select.
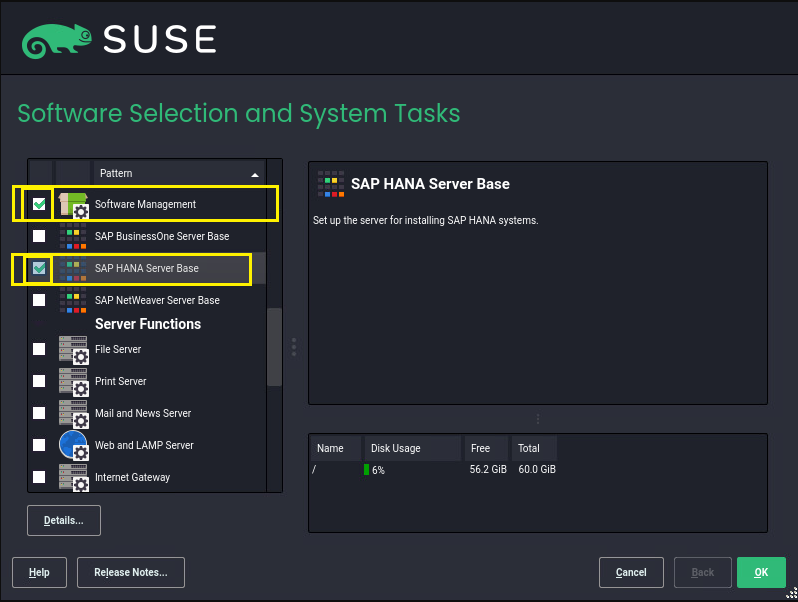
By default, there is some pre-selected Software. Choose/tick ‘Software Management’ and ‘SAP HANA Server Base’ and ‘SAP Application Server Base’ as shown in the below screenshots.
Once done with selecting Software then click on the Details tab,

Go to the ‘Search’ tab and search for libopenssl package. Select the one which is highlighted below.
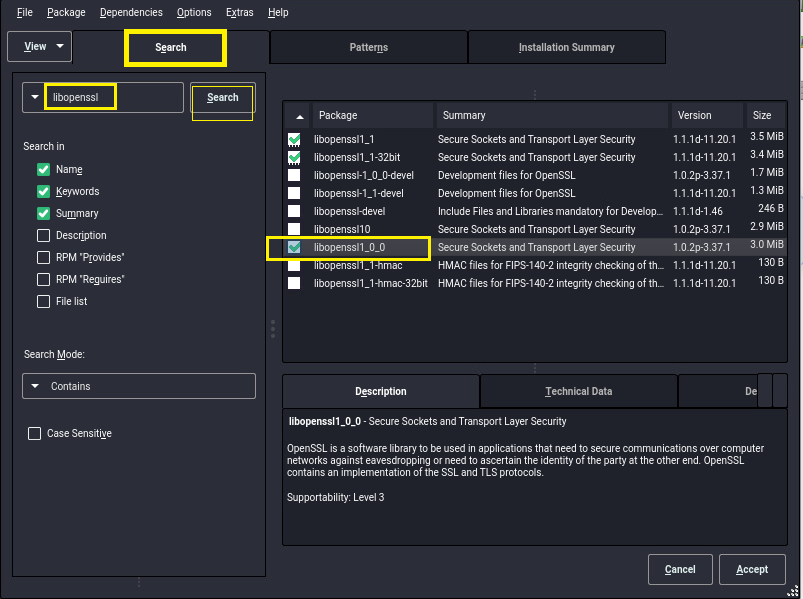
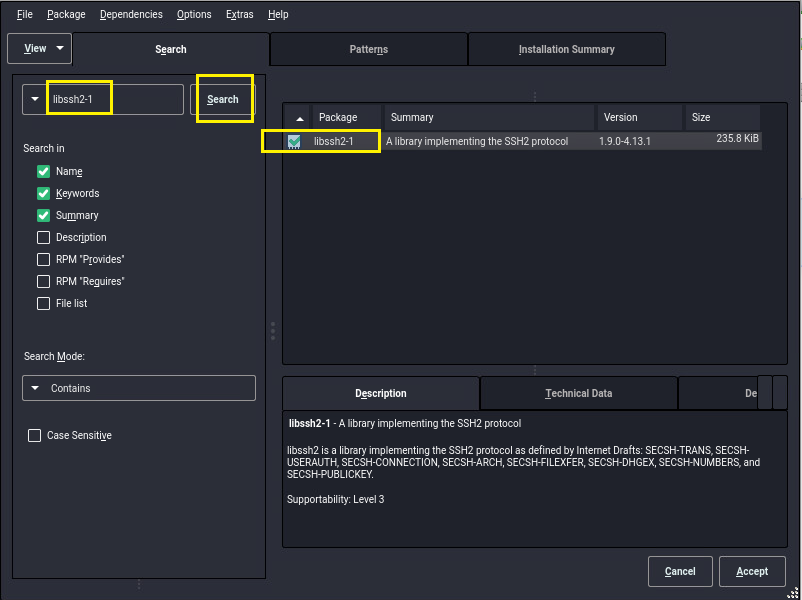
Similarly, search and select libssh2-1 package.
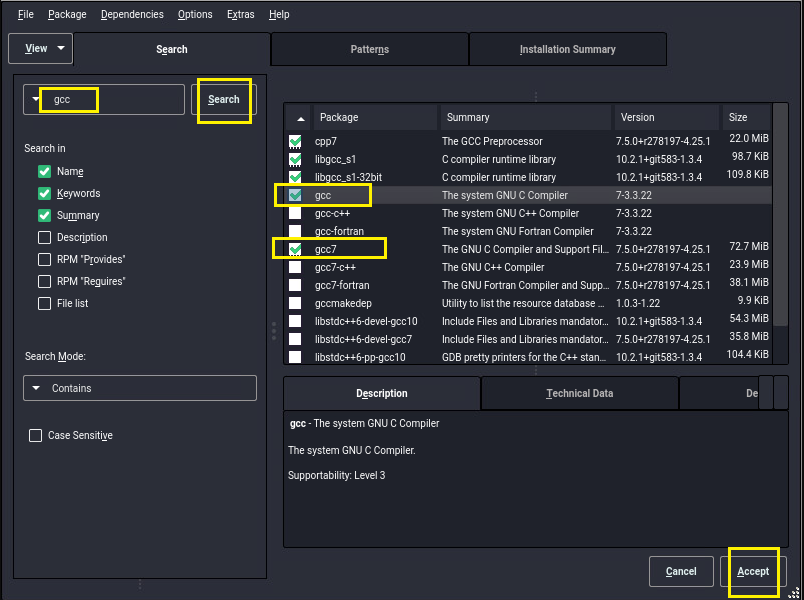
Search for a gcc package and select gcc this will also bring gcc7 package to the selection, these packages are required to install.
Click on Accept to continue.
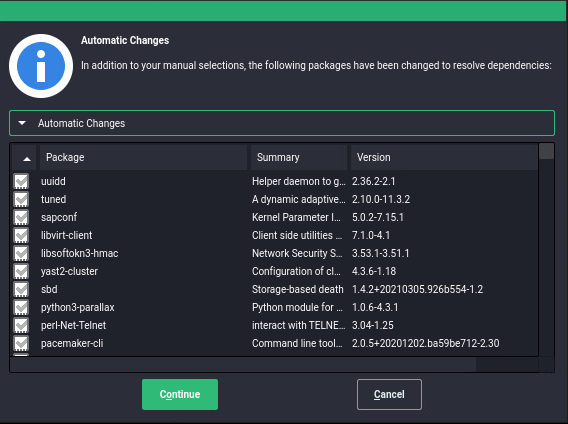
Here, is the whole list of default and manually selected packages that are going to get installed along with the OS. Click on Continue.
Under Security, I chose to disable Firewall and enable SSH service. This depends on your setup/requirements.
By default, Kdump is enabled. Click on the Kdump link and disable it.
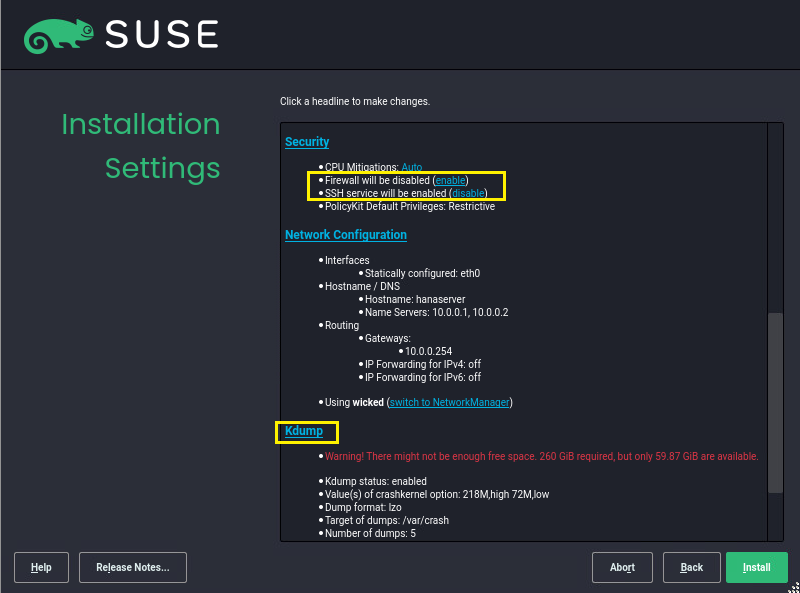
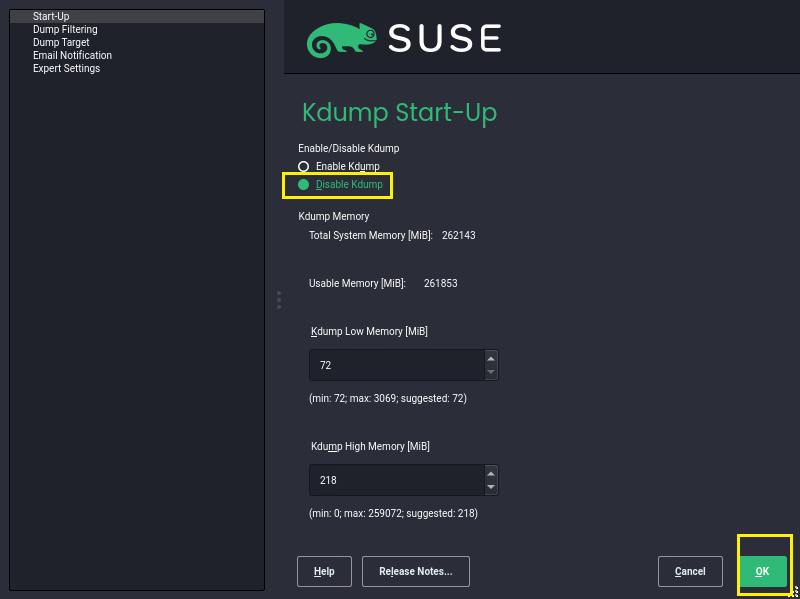
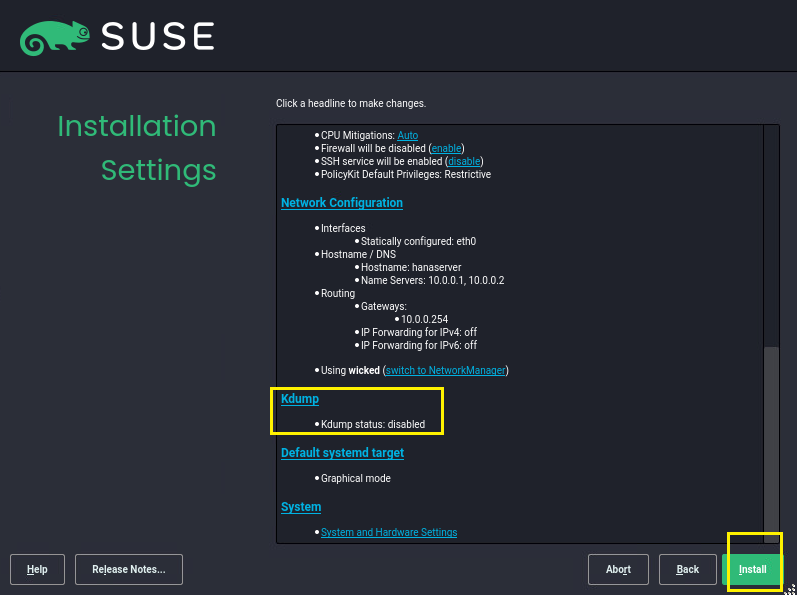
As it is disabled now, the disk space alert is gone. Click on Install.
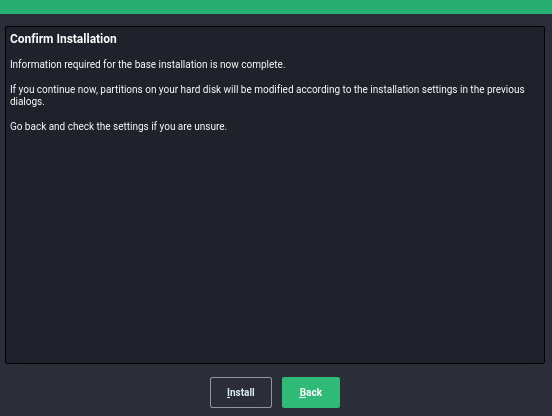
Confirm Installation by clicking on Install.
The below screenshot shows the Installation progress.
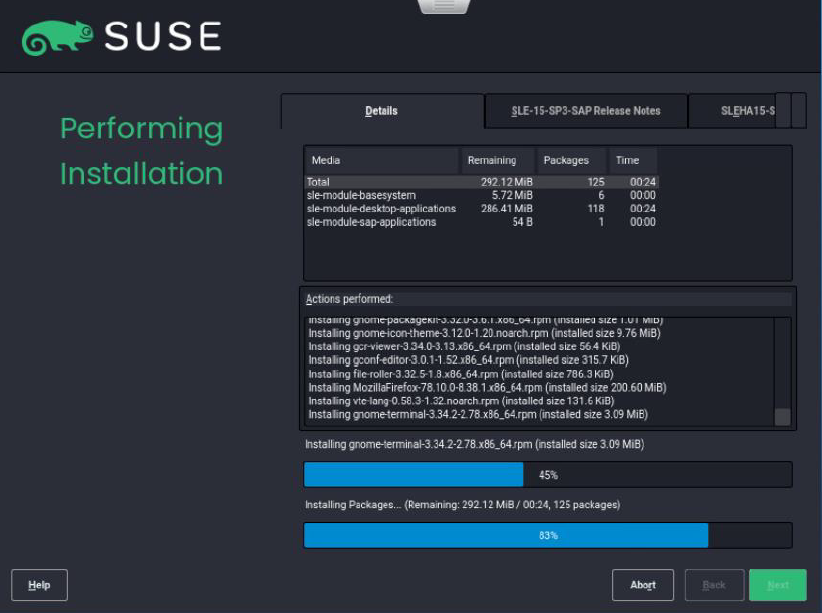
The system will reboot during the installation. Once the system is ready, log in using root credentials.
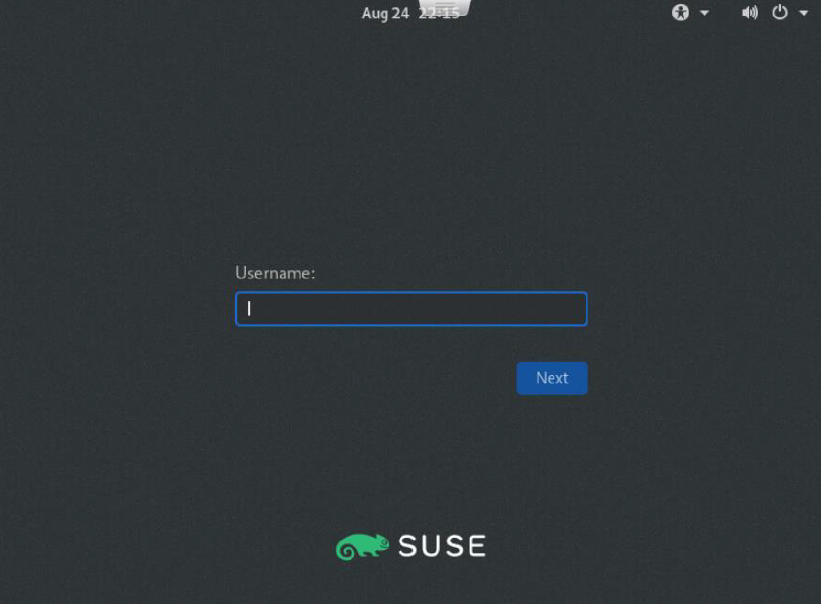
This completes the installation of the Operating System – SUSE Linux Enterprise Server for SAP Application.